


Your cart is empty!
Maintenance Shakedown

Climbing out of the saddle, as rain drummed against his helmet, ran rivers down his rain jacket and pooled in his shoes, the rider cranked hard in an effort to stay warm. As he did so a crack echoed out around him; a fraction of a second before he fell over the front of the bike. The thunderous sound wasn’t a result of the gathering storm, but that of a snapping chain. A link exploding under the strain. Blood streamed out of his knee and puddled below as our rider hunkered down, shivering as he rooted through his tool kit. Numb fingers clumsily pawed at his chain splitter, then fumbled and dropped his spare link in the mud. Panicked, he clawed at the ground looking for a glimmer of metal in the slop… so distracted that he didn’t even notice the wolves circling around him…

Don’t be a wolf snack
And that boys and girls, is why we should maintain our bikes. Because no one wants to get eaten by wolves in the wilderness. In all seriousness, the fate of our fictional rider is perhaps a teeny bit extreme. While a mechanical is unlikely to end up in total disaster, it does have the potential to ruin a trip, or at the very least just be an annoyance on a ride. There will always, always be those freak incidents that are virtually impossible to mitigate against, but most mechanicals can be prevented by some basic and frequent maintenance before your next trip.
That’s what this blog is all about. We are going to share our maintenance routines and run through the simple checks that it’s worth doing before you next head to the hills. Whether you are someone who loves a bit of tinkering or someone would rather visit a bike shop to repair a puncture, we’ll cover the home maintenance basics that will mean you are much less likely to end up as wolf snacks.

Bath time
Right, first things first. We are writing this at the tail end of September. Fingers crossed you’ve had a whole summer of rad bike fun… from long evenings riding to the pub and back to bike tours somewhere new. Depending on how lucky you are with the climate, one of the great things about summer riding is it’s not so muddy. There’s no need to wash your bike after every ride. Sweeeeet. Eventually though, even dust and the occasional puddle splash accumulates. You are never going to spot any issues under a layer of grime, so it’s always a good idea to give your bike a wash before you undertake any mechanical stuff. It’s up to you how anal you want to be, but at the minimum, concentrate on making sure your drivetrain is clean. Once washed, give your drivetrain a dry and lube. 
Heads, shoulders, knees and toes
Now you’ve got a clean(ish) bike, it’s time to give things a once over. If you have a bike stand, the task will be a little easier, but it’s definitely not necessary. You can always flip the bike over and rest it on the saddle and bars (pop an old towel or something under the bike if you want to stop things getting scuffed).
Most of these tasks can be completed in any order, and most don’t need any tools beyond a set of allen keys to identify issues. When it comes to replacing components you may well need specialist tools, but we won’t worry about that for now.
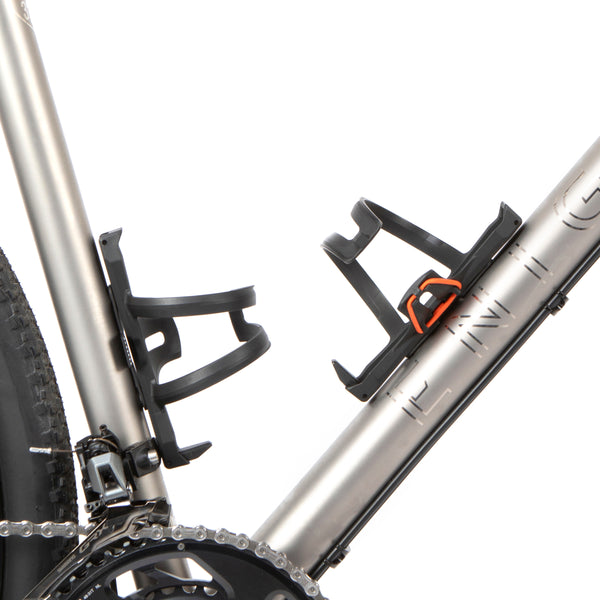
Bolt check: let’s start off nice and easy. It’s worth going around the bike and making sure all your bolts are tight enough. Things like saddle clamp bolts can sometimes have a tendency to work loose over time. Don’t simply haul on an allen key until you can’t move it any more. That way stripped bolts and rounded off heads lie. Back the bolts off a tiny bit and get a feel for how tight they need to be. If you’re running carbon, make sure you check torque everything up the right amount (it’ll tell you on your components).

Brakes: regardless of your brake system, there are a few basics that are worth checking. Most importantly, how much life is left in your pads? If they are looking thin, it's well worth replacing them before they have totally worn out. With fresh pads fitted, how do the brakes feel? Are they pulling to the bar? You might need to adjust the cable tension, or with hydraulic brakes they may need a bleed.
Bearings: bikes use bearings in a few places to ensure smooth running. All of them wear out eventually. When they do, they can seize, develop play or even collapse completely. The main places to check are: Headset, Bottom bracket, – with the chain off is it hard to turn your cranks? Is there some play in them? Wheels – is there some side to side play in the wheel? Is it difficult to turn (make sure your brakes aren’t rubbing first)? While servicing some bearings yourself can be a fairly simple job, you’ll likely want to head down to your local bike shop to get them sorted. There’s so many different standards of bearings which need to be fitted in many different ways so having someone with the right tools who can navigate the minefield of standards and sizes is going to be the best way to sort this out.
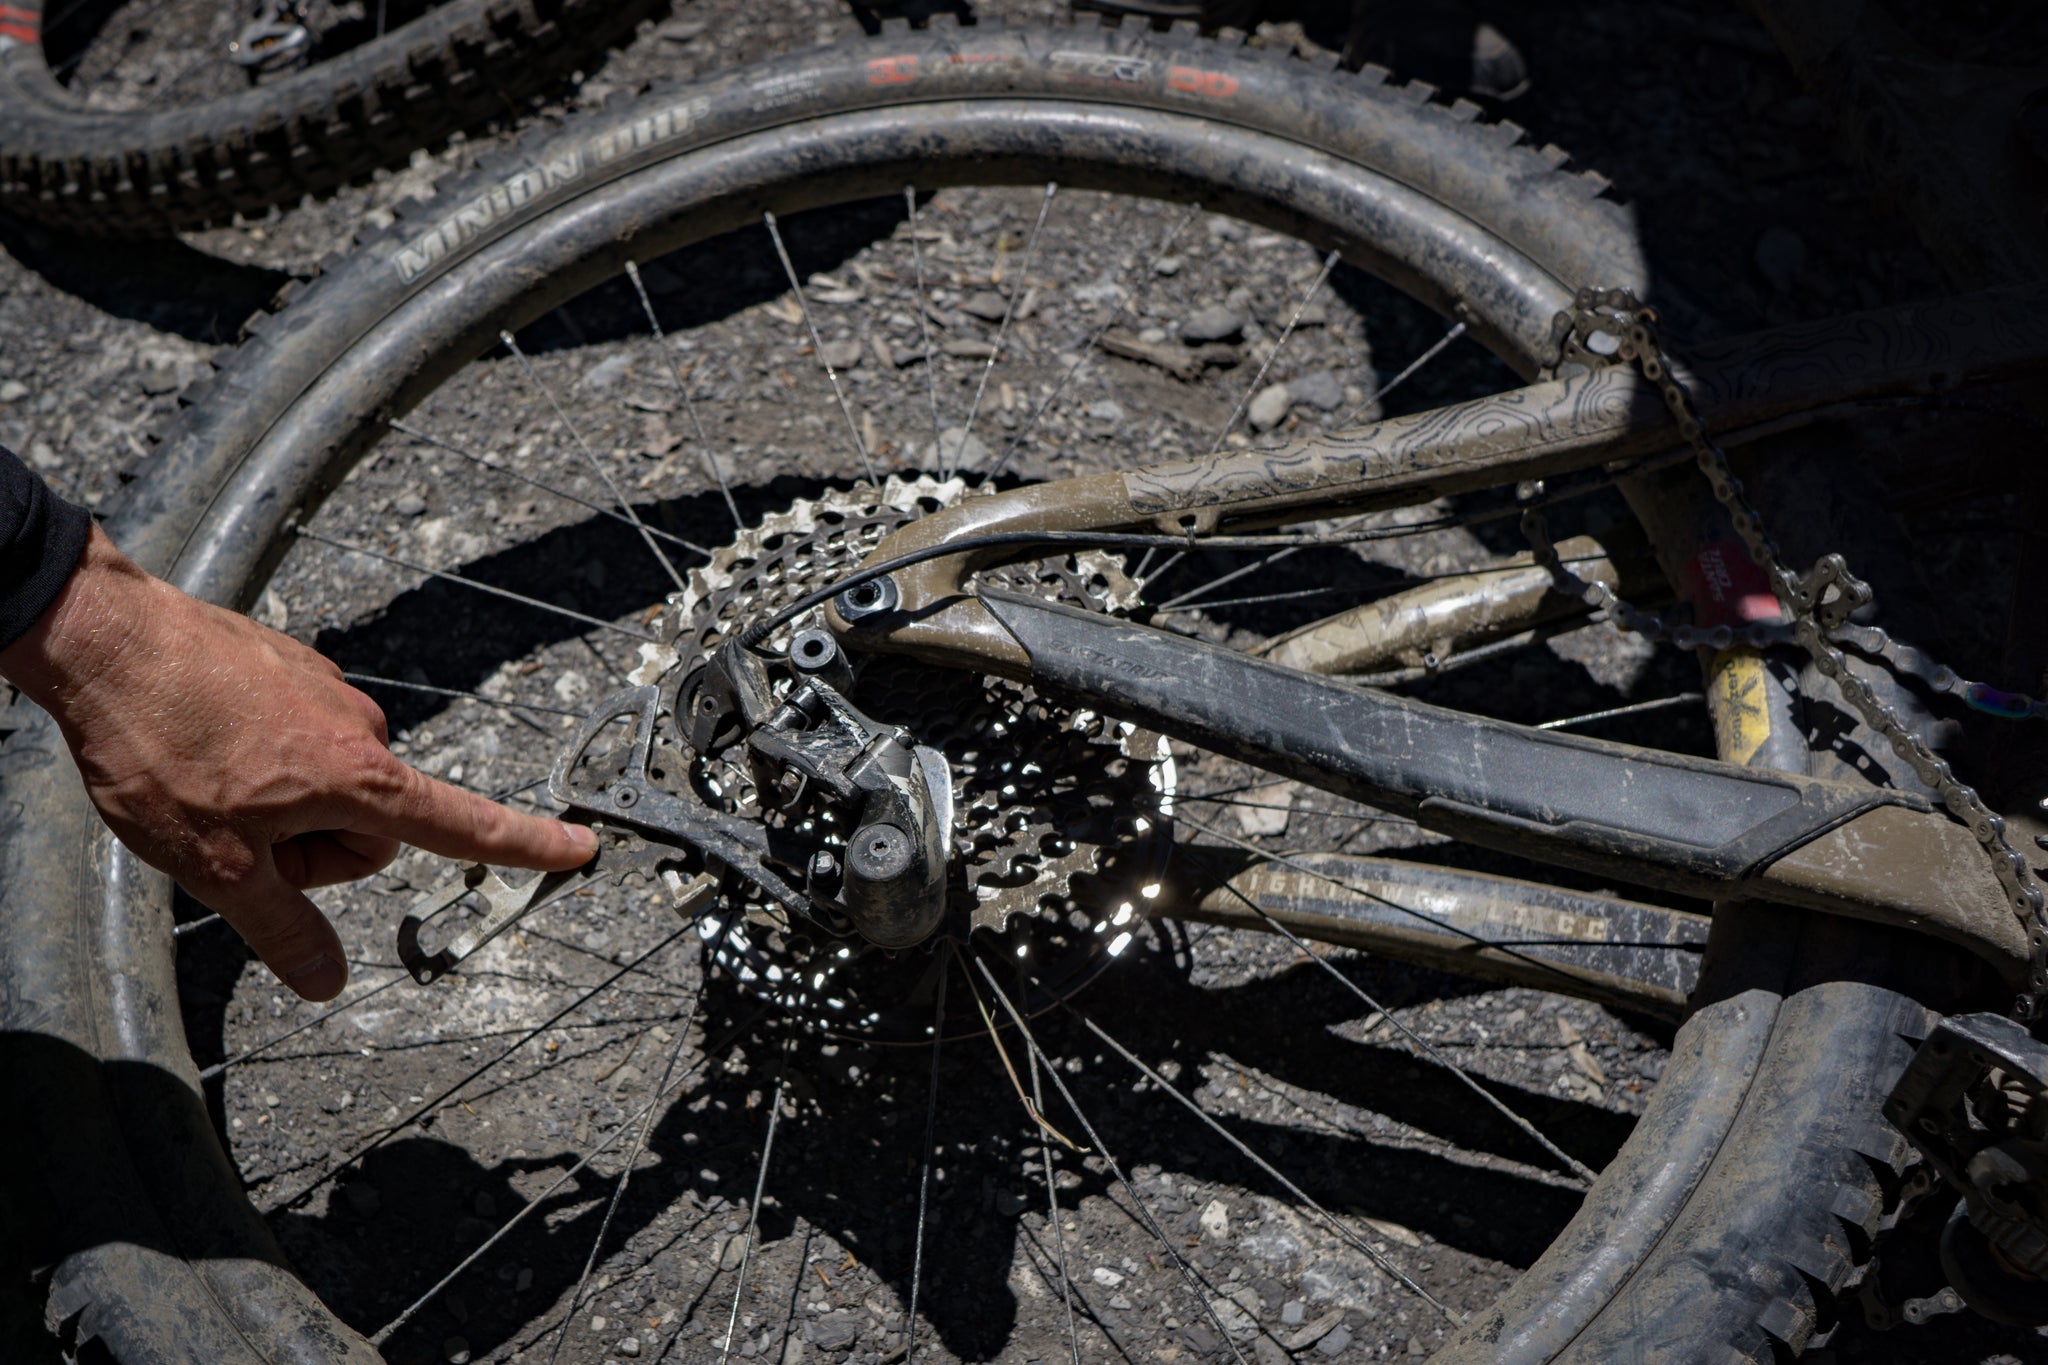
Shifting: with your bike in the stand or upside down, click your way through all the possible gear combinations on your bike. Does one click at the bars lead to one click on the gears? Does the chain move up and down the cassette smoothly? If the answer to these questions is “no”, then there are a few possible causes. It might be simple cable stretch, rusty or grubby gear cables, a slightly bent rear mech or hanger, a faulty shifter or a worn chain/cassette/chainrings. If you identify an issue, there are some good youtube tutorials out there which run through the diagnostic and repair process.
Tyres: if you’ve got a puncture, fix it properly now. Don’t pump it up and hope for the best. If the tread is looking worn, replace the tyre. A worn tyre is more likely to lose traction on the road or trail, and much more puncture prone. You can usually find wear indicators (usually two dots on the tread, close to each other) on most tyres, which will give you an idea of how worn the tyre is. In a nutshell, if you can’t find them, then it’s time to replace.
You might also want to think about upgrading to tubeless (meaning a system that doesn’t use an inner tube and uses sealant instead). When set up, it is brilliant for preventing the kind of punctures caused by thorns etc, but is far from being a magic bullet. It can be much more faff and mess – especially to set up – and it isn’t infallible… you will still puncture eventually.

Overall final check: give your bike a total visual once over. Are there any signs of cracks? God forbid, but you’d much rather spot one now than discovering it on the trail. Are any other components beginning to show signs of wear? Is it worth ordering some fresh bar tape or grips ready to replace soon? Used your spare brake pads, then order some more. Take the bike for a quick spin. Are there any creaks? Are the gears now shifting okay? Is there anything that will need more investigation?
Fix your problems: once you’ve been through this process make a note of anything not right. At this stage it might be worth taking the bike into your local bike shop and getting their help, or if you are more of a DIY kind of person, do some research on the tools and components that you’ll need for a home repair. Be aware that there are so many different standards on modern bikes that it’s easy for even the most experienced home mechanic to get confused sometimes though. Finally, if you’ve got a mate who has the tools and knowledge, it might be worth swapping a couple of cans of beer for their time. Most won’t mind, especially if it means they aren’t being asked to help you fix a broken bike while you are halfway up a mountain with bears circling… However you fix things… do fix them. Ignoring it and hoping things will go away never works and is simply delaying the inevitable.

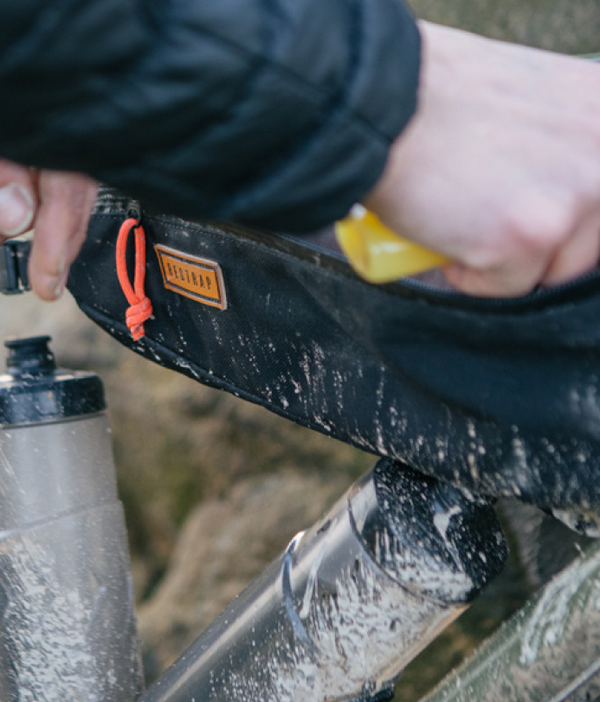
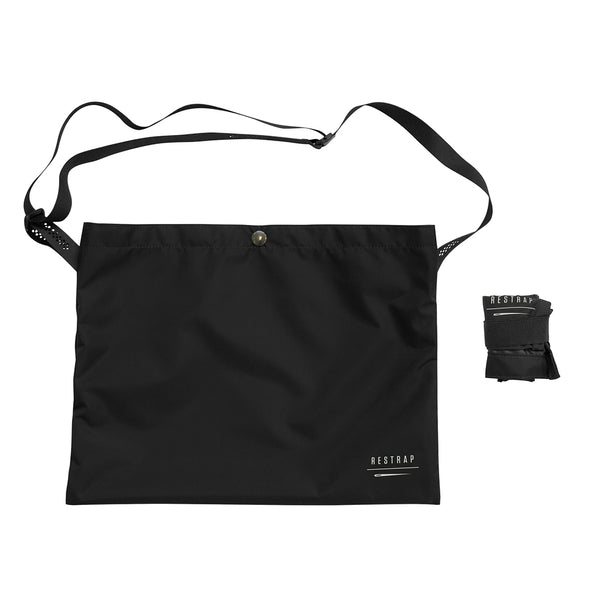
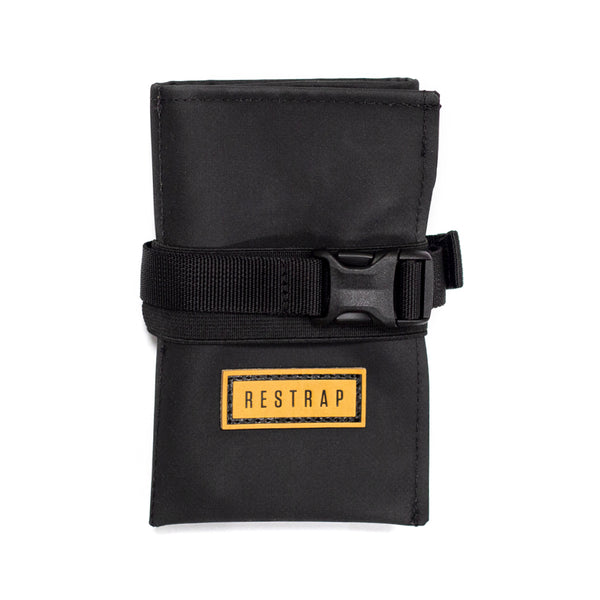
Bikepacking kit
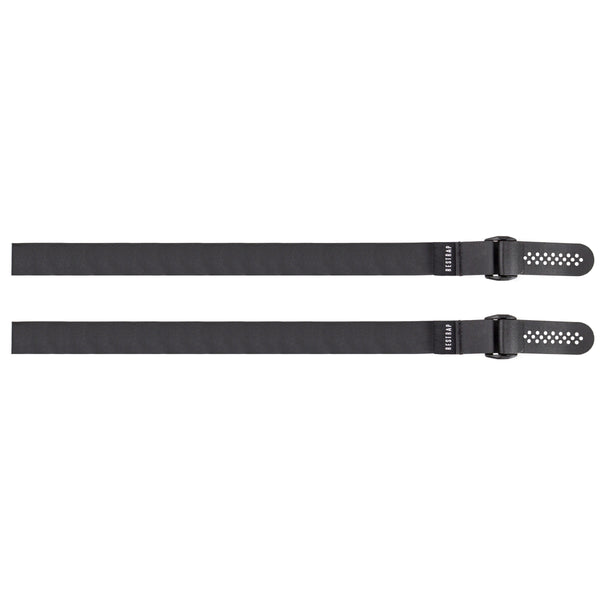
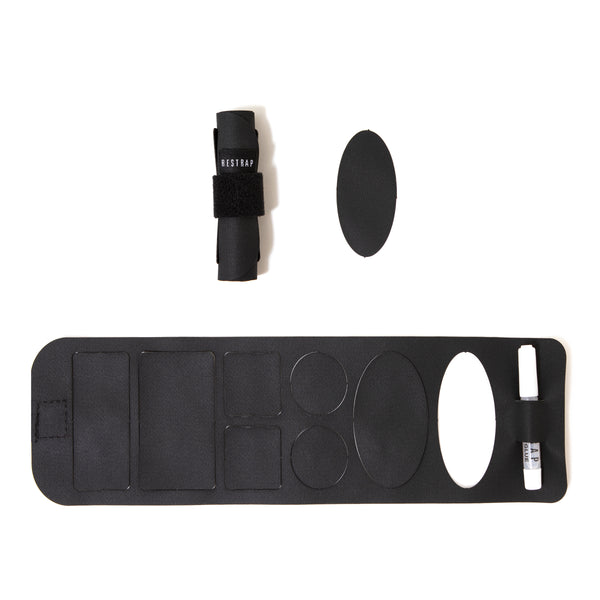
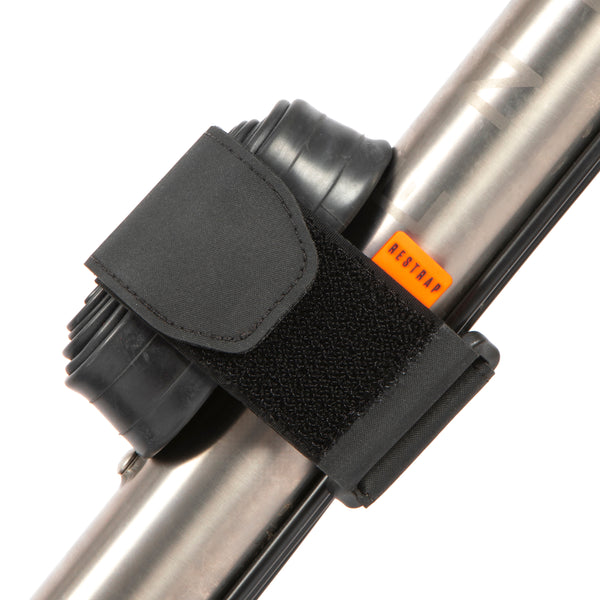
While we are at it, it’s also worth giving your bikepacking kit some TLC at the same time. We are passionate about making Restrap kit as bombproof as possible, but sometimes things go wrong. Check to make sure there aren’t any wear marks on the bags, or puncture holes through dry bags. Make sure your straps aren’t frayed and zips open and close smoothly. If you need to wash your kit, do so gently by hand and rinse off any detergent. If you do discover a fault or failure, please do get in touch. We offer a lifetime warranty on all our products and will repair or replace in the event of an issue.
Go through the same process with your sleep system and with any other kit. Air things out and look for any impending issues. It’s worth taking a stocktake of your tool kit. Have you used your spare tube and forgotten to replace it? Have you got the right spare brake pads for your bike (we speak from experience having got caught out after changing bikes and forgetting our spares)? Did you lend a tool to a mate and forget to take it back? Finally, think about your riding kit. Is your jacket still waterproof? Are your shorts still comfortable?
Ready to roll
Using these our above home maintenance tips your bike should ready to hit the road in search of adventure. While we can’t guarantee that they’ll prevent a mystery mechanical, they will minimise the chances of something totally preventable from spoiling your ride. These trip and tricks are just what we’ve picked up through experience over time and unfortunately, we learn by doing and/or when something goes wrong.
Tom Hill