


Your cart is empty!
It’s all about the small things in life

Riding bikes can sometimes feel like a constant drain on the wallet; whether that’s replacing worn out parts or splurging on something a little fancier, let’s face it, we haven’t picked the cheapest pastime going.
The thing is though, sometimes we all like to treat ourselves or our bike – and why not, if it brings us joy? When it comes to upgrades, who wouldn't love a new set of carbon wheels, or chi-chi anodised exotica? You don’t need to spend a fortune to make a significant impact to the quality of your ride, though.
And to prove that point, we thought we’d share our five favourite affordable products from our line up, and give you a bonus completely free tip…
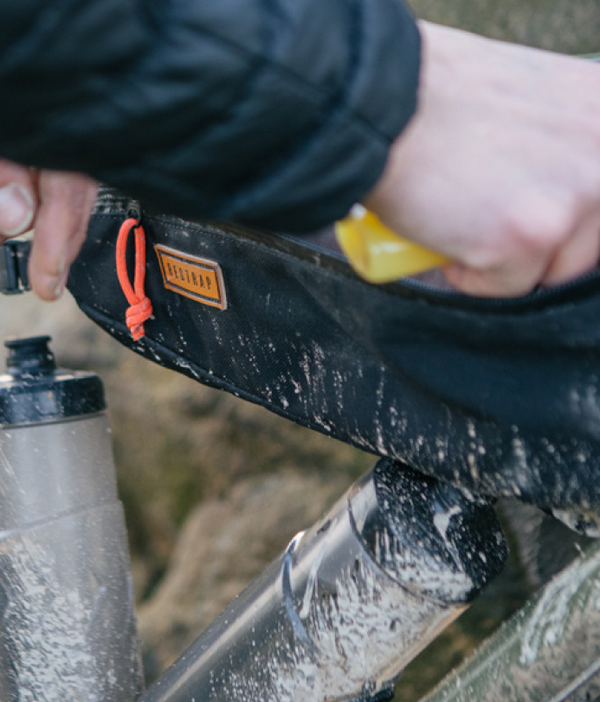
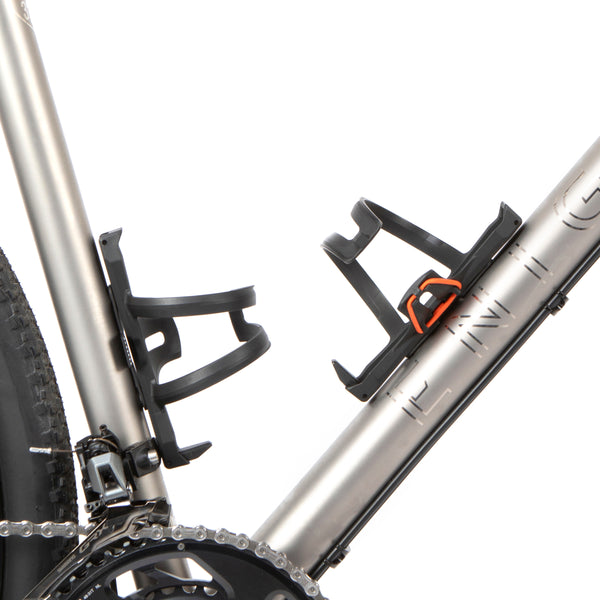
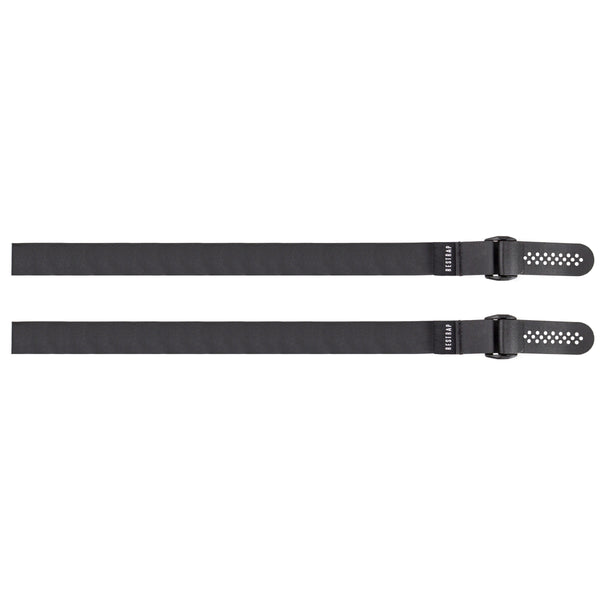
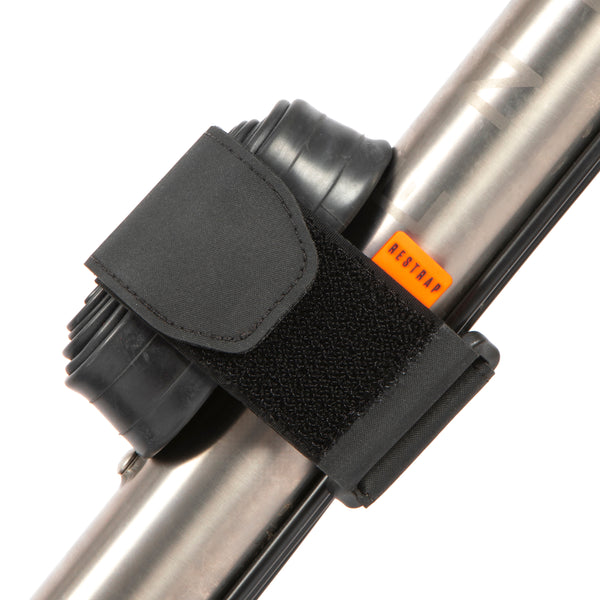
Fast Straps
If there was ever a product that you didn’t think you needed until you got one, the Fast Strap is right up there. Fabricated from incredibly robust – yet light and compact – Hypalon, the Fast Strap does one job, but can be applied to a thousand scenarios.

If the name doesn’t give it away, the Fast Strap is primarily designed to attach items to your bike or rack. Perfect for keeping a spare tube tidily tucked away, or securing a Nalgene bottle to our Carry Cages, the Fast Strap is equally useful for attaching extra bits and bobs that won’t quite fit in your luggage.

When rolled up, they take up little more room than a couple of £2 coins and before you know it, you’ll find that you keep one in every pocket of every bag you own.

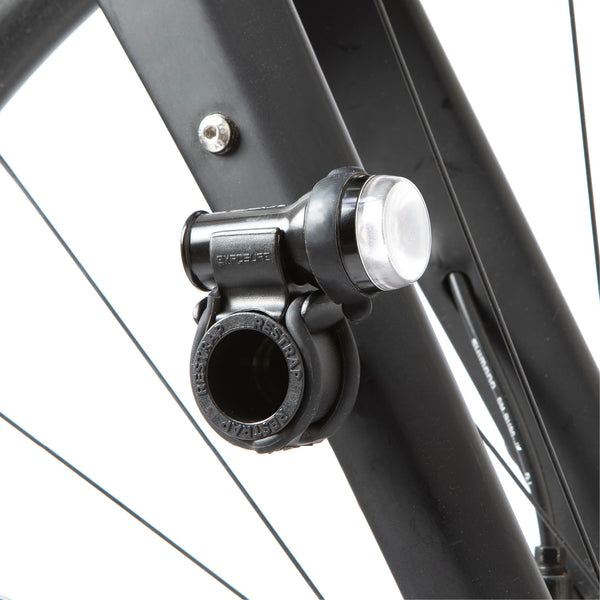
Light Mount
We all know that bikepacking can take up valuable real estate on your handlebars. The Light Mount provides a convenient additional mounting point by bolting on to any M5 threaded eyelet.

Think mid-fork eyelets, dropouts and rack mounting points. And as a bonus, the back of the mount serves as a tool to tighten the pre-load bolt on Shimano cranks.

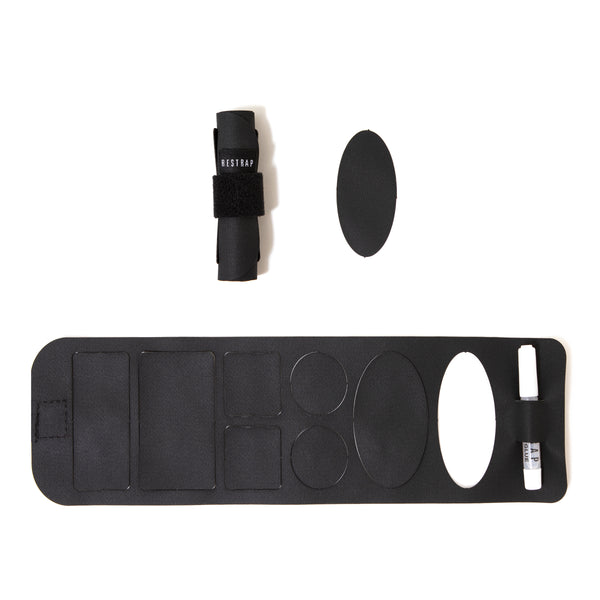
Tyre Boot Kit
The Tyre Boot Kit definitely fits into the “I hope I never need to use this” kind of purchase, but you’ll be thanking your previous self if you ever do find yourself at the side of the road or trail with a slashed tyre.

Made from the same durable and flexible Hypalon that we use for our fast straps, the Tyre Boot Kit is designed for repairing tears to the sidewall or body of the tyre. Each kit features eight patches of various sizes and a small tube of super glue.

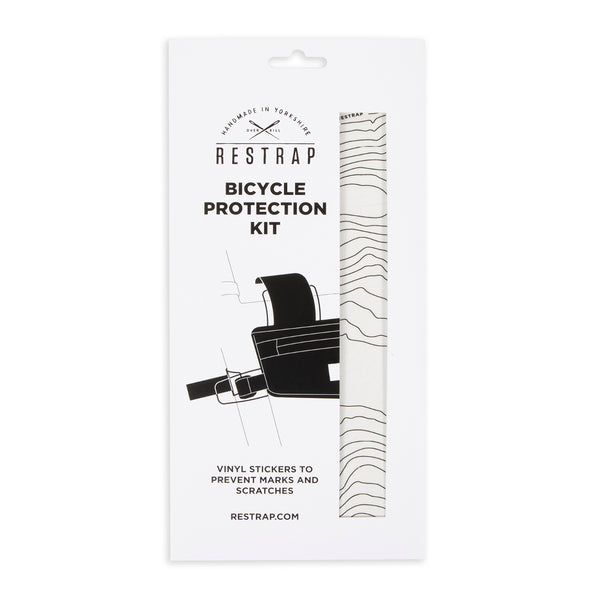
Bicycle Protection Kit
The frame is by far the most expensive part of most bikes. It makes sense to take care of it as best as possible. Our Bicycle Protection Kit is designed to help keep your bike looking as good as new for as long as possible. The pre-cut vinyl is designed to be placed on any areas likely to suffer from abrasion: under cables and frame bag straps are prime locations.

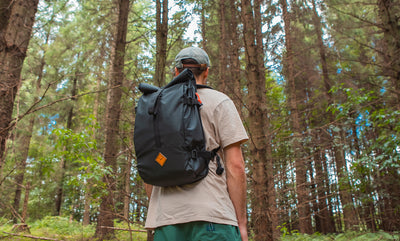
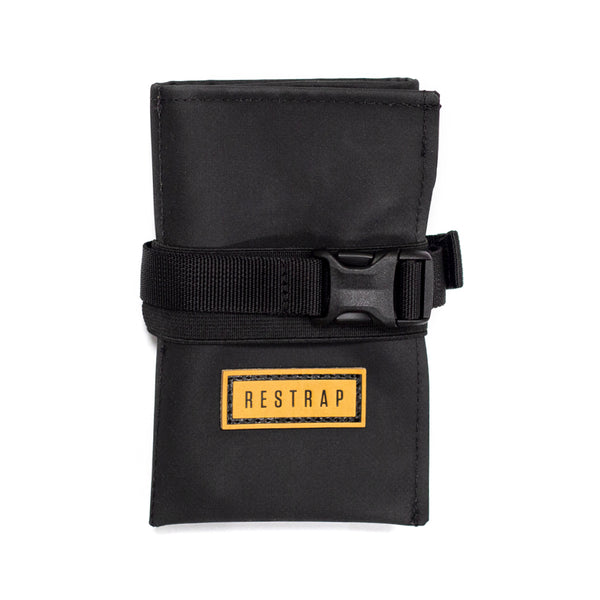
Repair Pack
The Repair Pack wins the value prize for two reasons: firstly, it’s inexpensive in its own right. Secondly, it saves the expense of buying a new drybag. Abrasion, cuts and thorn pricks can all but render a drybag useless in seconds. Fortunately it is quick and easy to repair them. Our iron-on repair patches are waterproof when applied and the supplied wallet is made from repurposed waste fabric from our cutting process. Each pack contains three different sized patches.

A bonus free tip
We often get asked why we don’t use air valves on our dry bags. On the face of it they are a good idea - they allow you to squeeze out all the air out of a sealed dry bag, making it more compact and easier to fit into a holster. The thing is, we think there are more downsides to positives. And here’s the kicker… they simply aren’t needed.

An air valve adds complexity – it’s something else to break or leak – but, it also adds expense. The valve itself costs money, and because it makes manufacturing more complicated, that too adds cost.
That cost to us (and you) would be worth it if they were necessary, but they simply aren’t. Here are two techniques to squeeze the air out of your dry bag before sealing.
- Once you’ve packed your drybag, take the top of the opening and slide it down one side of the bag, folding it over on itself. Squeeze the air out as you go. Carefully roll the top of the bag as normal, making sure you don’t allow air back in.
- Roll the top of the bag over a couple of times. Then push down. There should still be enough of an air gap to allow any to escape. Then finish the rolling process.